|
Home Port of Seward, Alaska | |
|
|
| Back to Leg 13 Photos | ||||
|
|
Wings Returns to the Carenage! Wings is on the hard again, and not a boat. We've been working like fiends to ready Wings for her long layover in the heat and humidity. 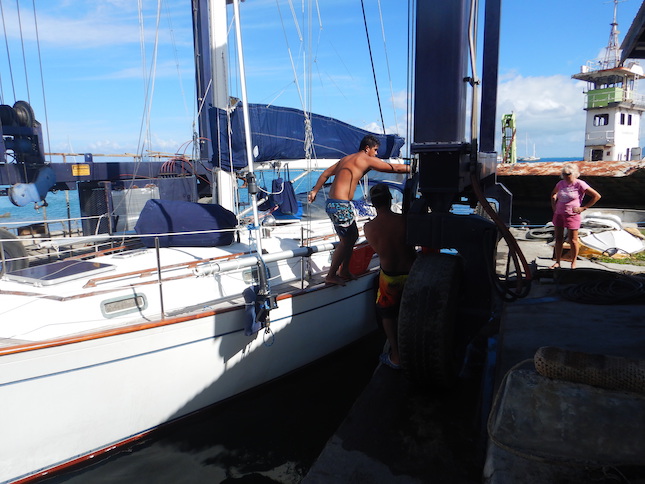
Conni watches as a Carenage worker helps place a lifting strap under Wings. Previously, we had removed the headstay and roller furl, both seed hanging from the boat to the left of the worker. Her jib in the blue bag forward of the mast. 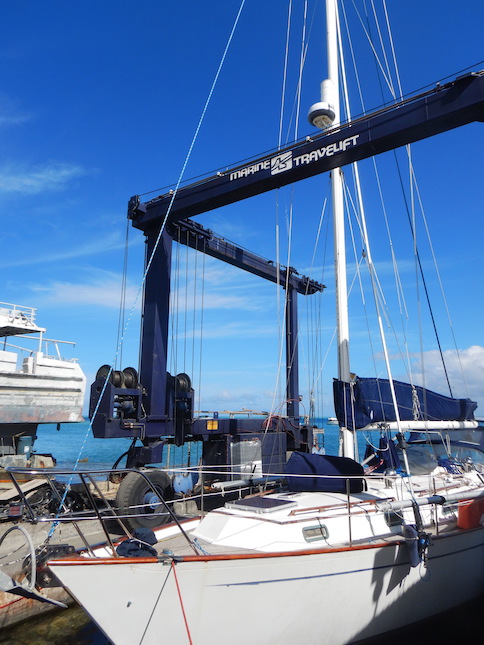
Wings is ready to leave the water for the season. 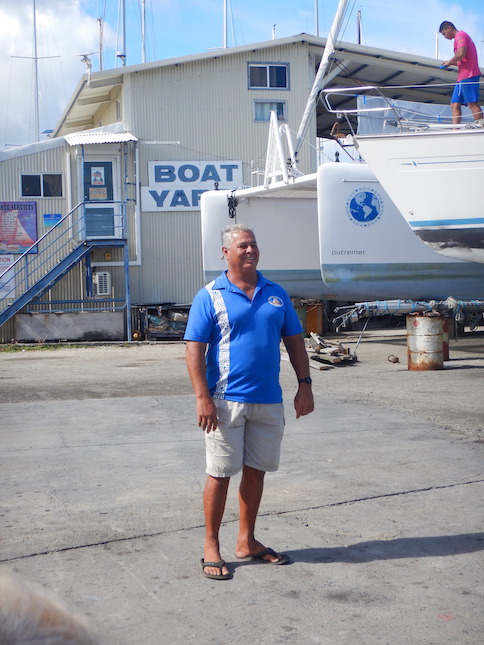
Dominique is the owner and manager of the Carenage and he kindly oversaw the removal operation. 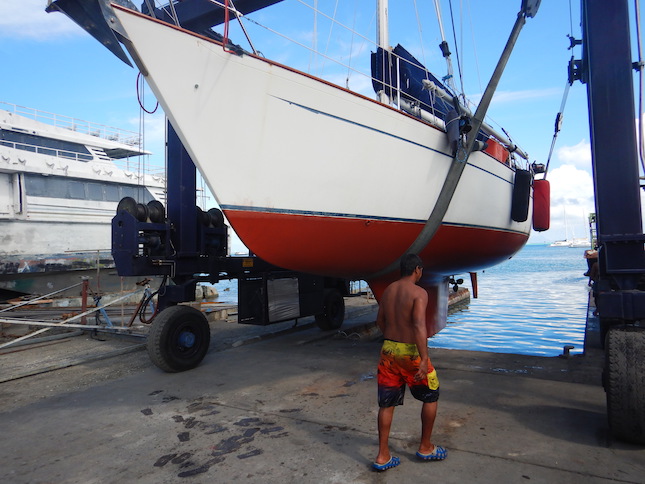
And...she's not a boat! Note the lifting straps, one forward, one aft. Workers must dive on her as the straps are put in place so that they don't crush a depth sounder transducer or other sensitive part that would not take kindly to her 12 tons. 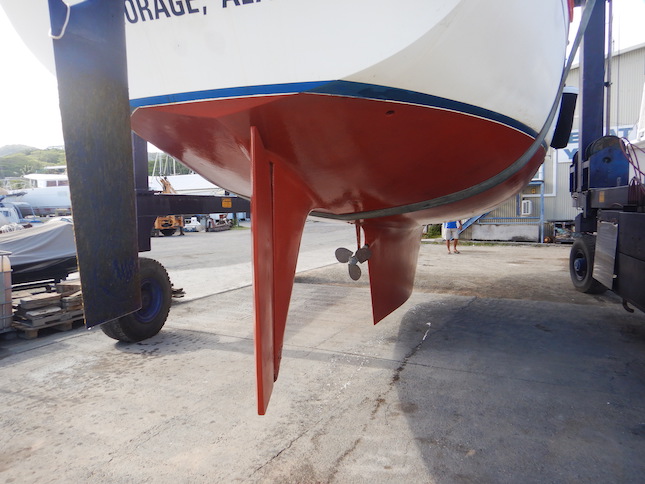
This is a nice view of Wings' keel, propeller, and skeg-hung rudder. Nice paint job! 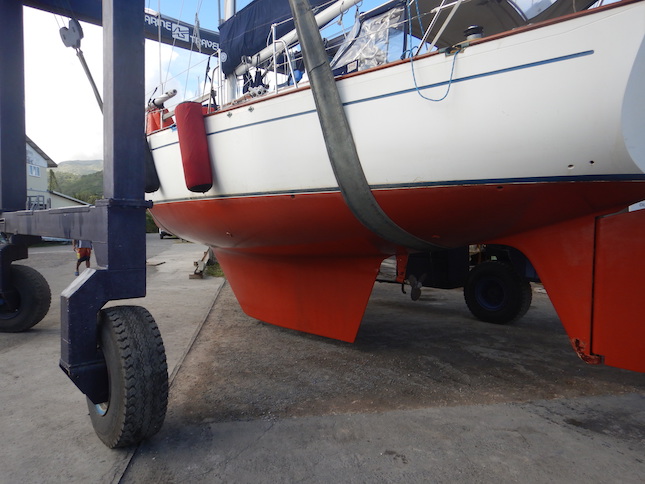
They lower boats as much as possible to prevent what damage they can in case something goes awry. 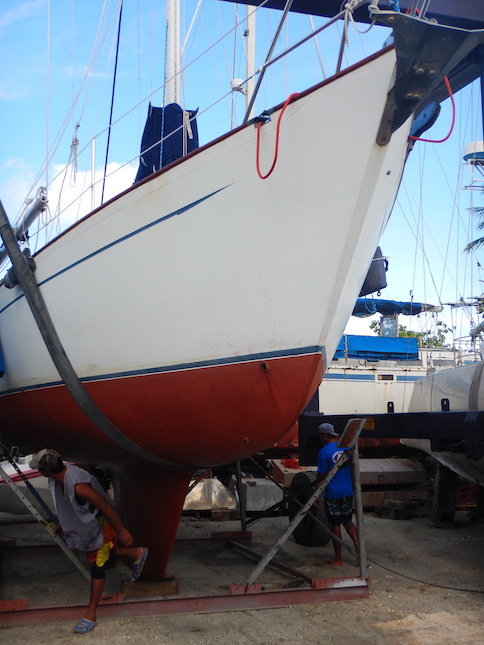
This is Wings' cradle for the next 9-10 months out of water. The workers are adjusting the cradle arms to provide lateral support but much of her weight is on her keel. Her keel sits on several solid wood blocks. 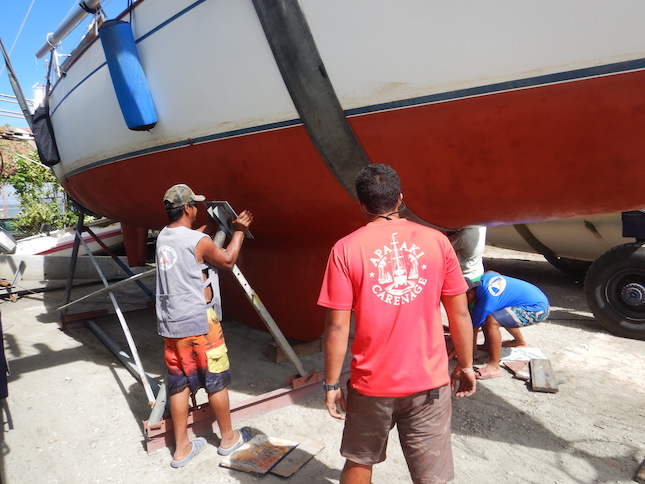
Once the support arms are in place, workers pound in plywood pieces to shim between the arm pads and the hull. 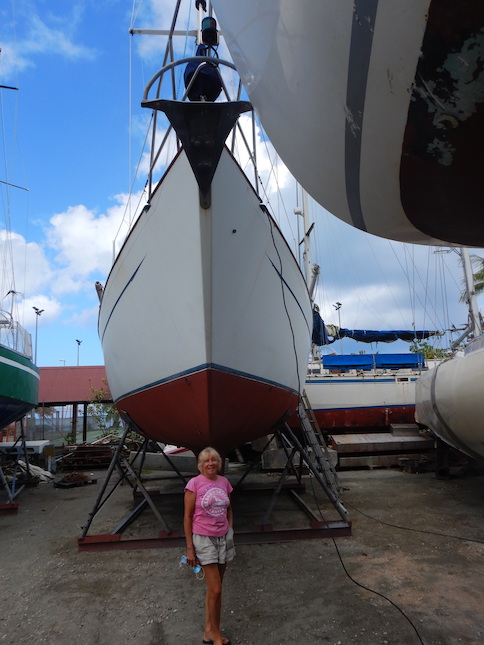
Lovely Conni poses at Wings' bow. One of the first tasks was to ensure that we have power, as the black power cord shows. You can also see that we're in the back of the yard, unlikely to be disturbed. 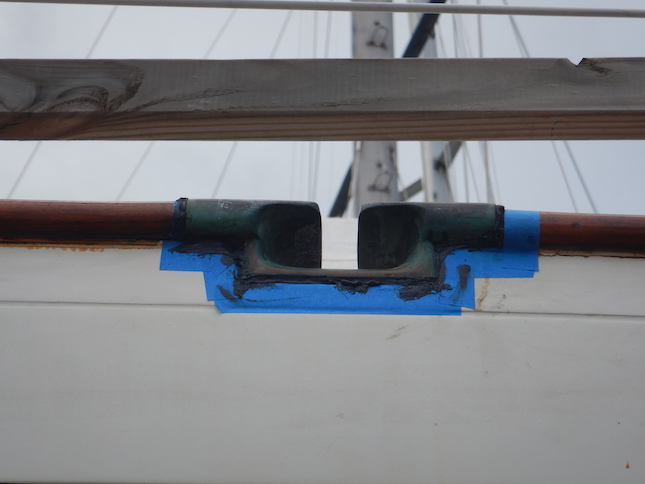
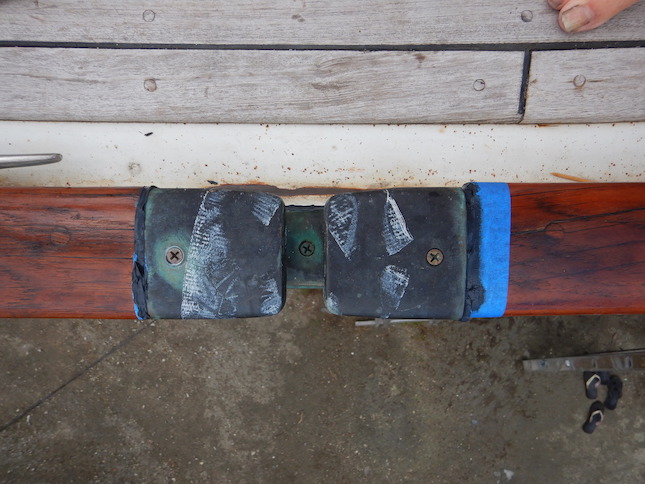
The newly installed chock with its blue tape protection for caulk problems. I did remove the tape, very carefully with a razor knife, and patched any needed caulk
This is the chock from above, with my giant toe in the frame. We applied epoxy to the surface under the chock, drilled oversized screw holes, then back-filled with more epoxy. When we drilled the properly-sized holes, the hardened epoxy protected the surrounding wood from water intrusion damage. The screws are silicon bronze and quite durable. 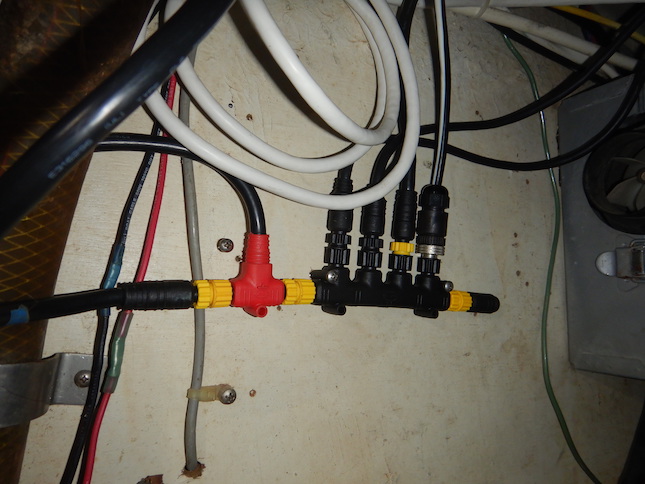 Perhaps not an exciting photo, but this is the
main part of the new NMEA2000 network. The horizontal cable
is "backbone" cable and the vertical is "drop" cable. The
red piece provides power to the network instruments that require
it, as do the Triton display and depth sounder. At the far
right of the 4-way T connector is the terminator, one required at
each end of the backbone. For those of you who worked on
very early computer networks, you'll remember those. I
do. The NMEA2000 connections are watertight and easy to
work. I think that it's a superior network compared the one
that it replaced.
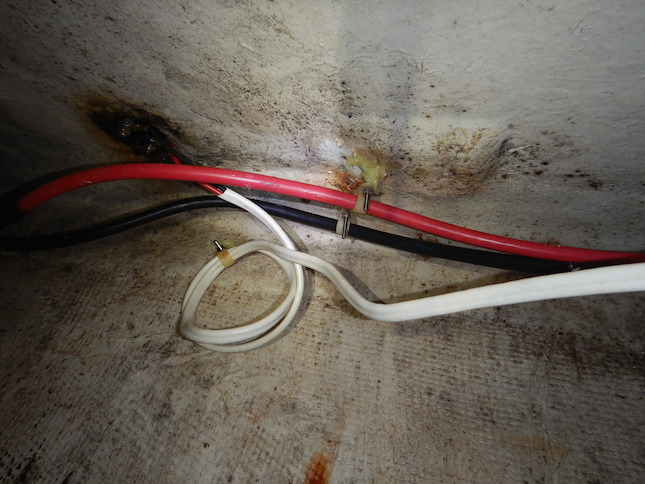 This is another photo only a boat person would
be interested in. Our deck has a wooden core that is very
susceptible to damage by water intrusion. In order to supply
support for these heavy cables, many people simply drill into the
core and drive a screw, regardless of the obvious hazard. I
have developed this method: After cleaning the surface with
acetone, I place a glob of thickened epoxy resin at a desired
location, then place a machine screw in the epoxy. When the
eposy has cured, I have a solid attachment point without drilling
holes into the core. Here, the two heavy battery cables and
food switch cables are now solidly supported using this
method.
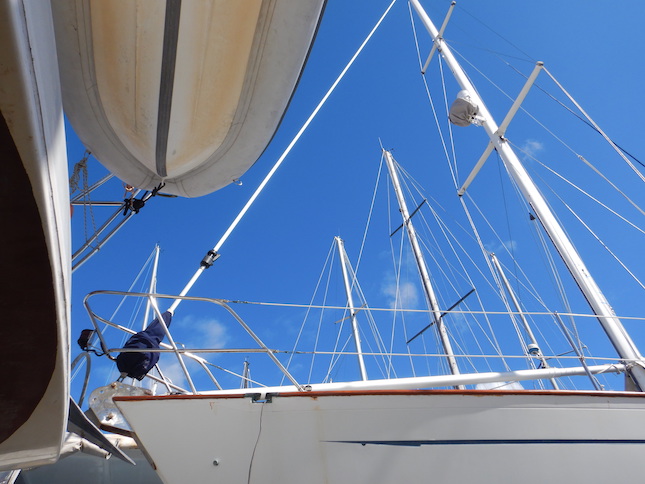 Here you can see the roller furler cover that I
designed and that our sailmaker fabricated. It provides sun
and rain protection all season. A bit higher on the mast,
you can see a re-purposed outboard motor cover now used to protect
our new radar. And yes, the boat at left is VERY close.
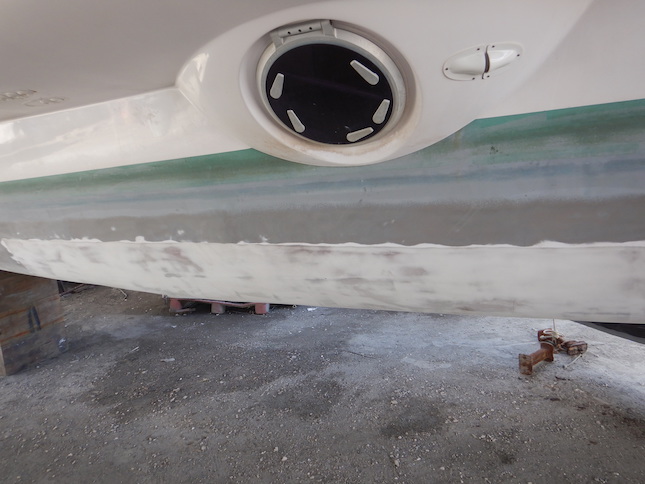 The Carenage crew repaired this Outremer
catamaran after it went aground, tearing off the bottoms of both
hulls. Dominique and his crew have repaired the damage, and
are now working with the manufacturer to prepare the boat to be
certified as new!
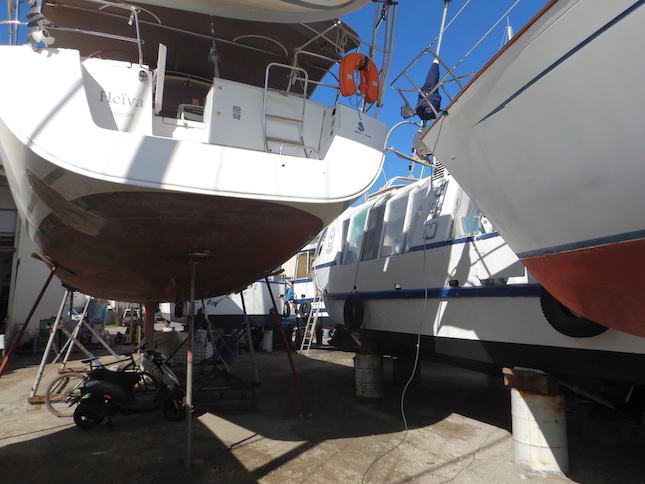 What a crowd! Wings is at right, a
sailboat that Dominique bought for US$4000 after she went aground
is at left, and the other vessels are short-range ferry boats, in
for repair and maintenance.
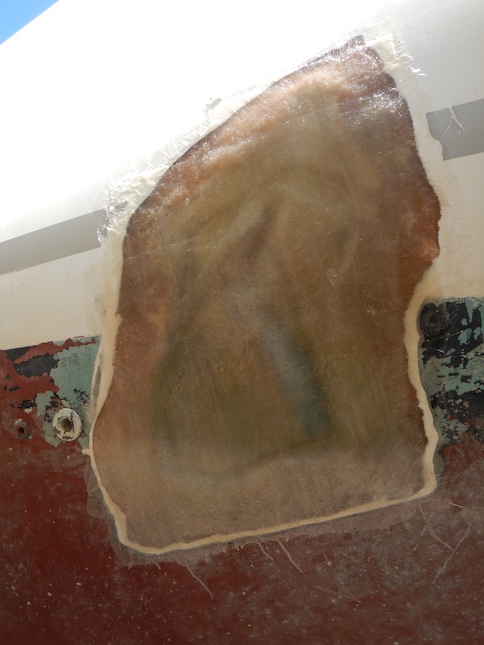 And this is how you repair a boat quickly enough
to pull her from a reef. It's a quick-and-dirty fiberglass
patch, just cloth and resin. You can even discern the
original hole in the hull! This was far from the only
repair, but they managed to get the boat back to the Carenage for
further repair.
|
|||
| |
Please e-mail our webmaster with any site questions. |
|||
|
Copyright © 2008– S/V Wings |
 align="center"